
How to Plan Christmas String Lights for a Tree, Porch, or Roofline
SEO Team ·
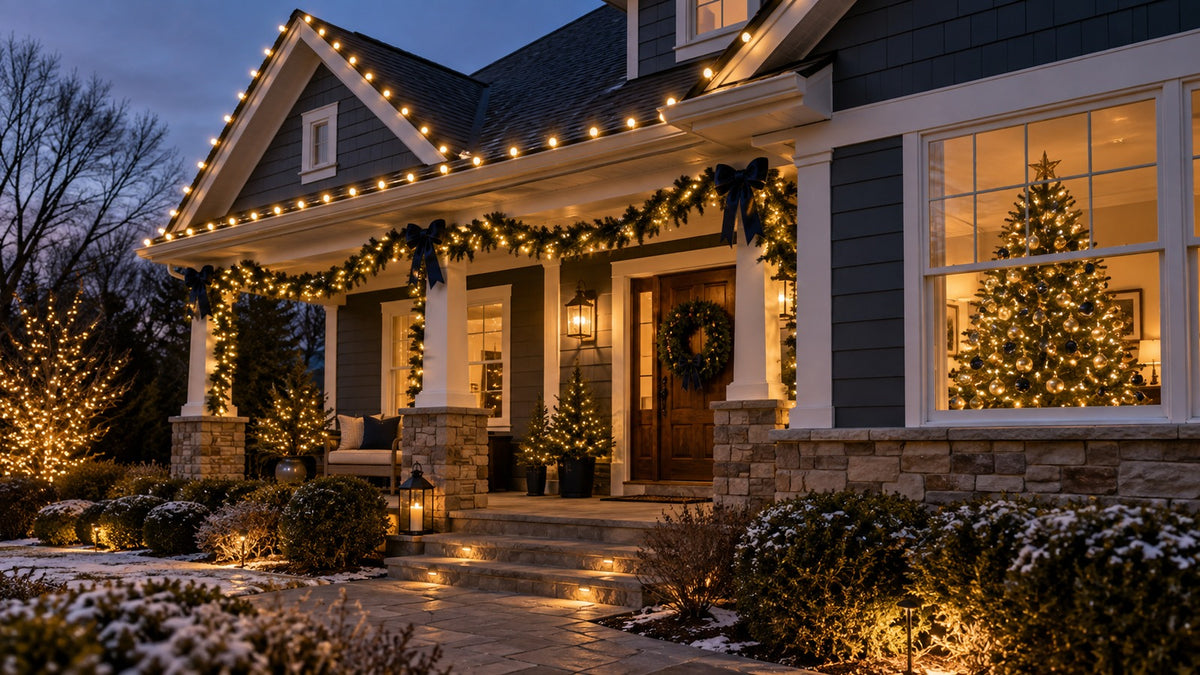
A reliable Christmas-light plan starts with the surface, route, and power source. Measure first, decide whether you want a subtle outline or a dense glow, and then compare the lighted length and controls of the selected strand.
Start with a simple sketch
- Draw the tree, porch, or roofline as separate sections.
- Write the measured length beside every straight run, wrap, and vertical drop.
- Mark outlets, battery-box positions, corners, doors, and walkways.
- Choose the starting point so the lead wire reaches power without crossing an access area.
- Confirm the selected product’s lighted length and connection instructions.
Planning lights for a Christmas tree
Tree height alone does not determine the required strand length because the wire travels around the branches. Measure the approximate circumference at several levels or use a flexible line to test the route.
For a dense effect, compare the ISEEBIZ cluster Christmas lights. Current options include different lengths and colors, so confirm the selected variant before ordering.
Planning lights for a porch or garland
Measure the garland at full length and include curves around posts or railings. A compact battery strand can be useful when the display is away from an outlet. Plan a dry, reachable position for the battery box and keep it accessible after the greenery is installed.
The ISEEBIZ 18FT battery mini lights can be compared for wreaths, garlands, and short railing accents.
Planning lights for a roofline
Measure each eave or porch edge separately, including corners and the distance to power. Identify where clips will attach and keep the wire clear of gutters, doors, and sharp edges.
The ISEEBIZ C9 LED Christmas string lights are available in current 81FT and 114FT options. Check the selected variant and connection limit before combining strands.
Match the visual effect to the surface
- Mini lights: flexible points of light for compact décor.
- Cluster lights: concentrated brightness for trees and statement greenery.
- C9 lights: a larger bulb profile for visible architectural outlines.
Test before installation
Lay out every strand, inspect the wire and connectors, and test all modes, timer settings, and remotes. Complete this step while controls are easy to reach. After installation, observe one complete timer cycle before relying on the schedule.
Installation checklist
- Use supports and clips intended for the surface.
- Leave gentle slack at turns; do not stretch the wire.
- Keep powered components positioned according to their instructions.
- Do not place cords in doorways, paths, standing water, or near heat.
- Disconnect power before adjusting or removing a strand.
Frequently asked questions
Should I buy extra length?
Allow for the measured route, corners, and the lead to power, but do not guess. Compare the final measurement with the listed lighted and total lengths.
Can one light style work everywhere?
It can, but the result may not suit every surface. A dense cluster strand and a long architectural outline create very different effects.
Use the three-style comparison guide to choose between battery mini, cluster, and C9 lights.