
How to Layer 500-LED Cluster Christmas Lights on a Tree
SEO Team ·
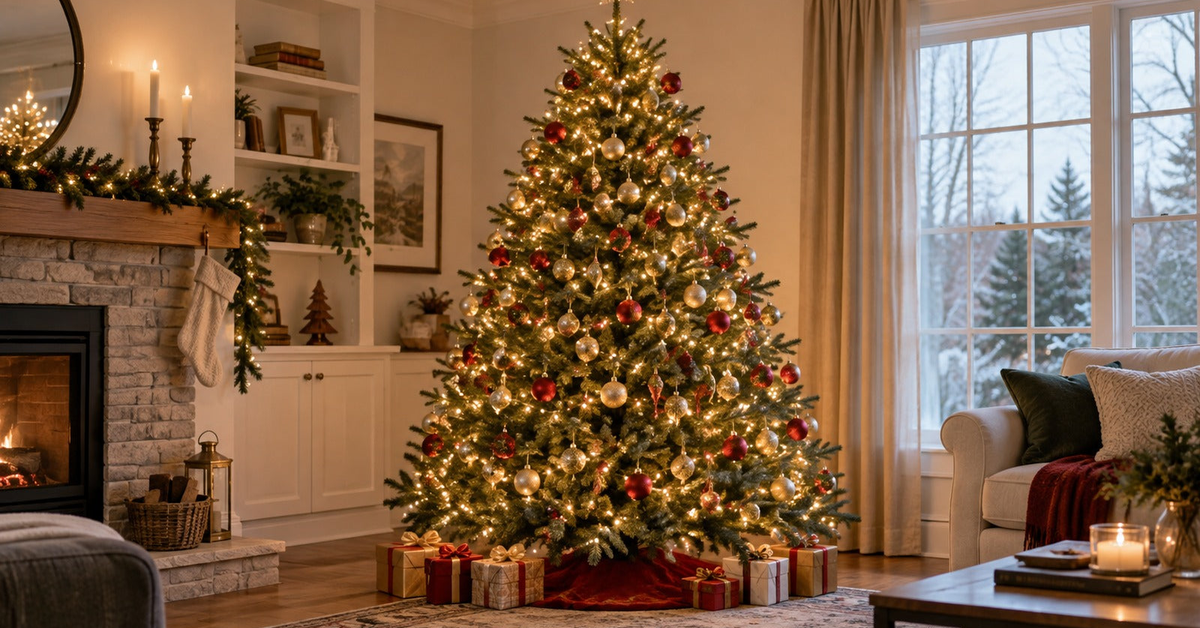
Cluster lights place many LEDs along a relatively short cable, creating a dense glow with fewer visible gaps. The best result comes from planning the route before the strand is buried in branches.
Choose a length for the tree
Measure tree height and approximate width, then use flexible string to test a spiral route from the power source toward the top. A fuller tree or a route that reaches deep into the branches uses more length than a narrow surface wrap.
The ISEEBIZ cluster Christmas lights currently include selected 25FT, 50FT, and 100FT variants in warm white, pure white, or multicolor. Confirm the exact selected variant before ordering.
Test controls on the floor
- Uncoil the strand without pulling on the wire.
- Connect power as directed and confirm that every section illuminates.
- Test the remote, dimming levels, timer, and the 12 listed modes.
- Select a starting mode so you can judge brightness while hanging.
Start near the power source
Position the controller and plug where they remain accessible. Secure the lead wire at the base without placing it under the tree stand, rug, or a walkway. Work upward from this point.
Layer inner and outer branches
Place part of each loop closer to the trunk and part toward the branch tips. The inner lights create depth, while the outer lights define the tree shape. Keep the spacing between loops consistent and step back frequently to check dark areas.
A simple hanging sequence
- Divide the tree visually into lower, middle, and upper zones.
- Make the widest loops around the lower section.
- Reduce each loop as the tree narrows.
- Use smaller adjustments near the top instead of bunching excess wire.
- Finish with the controller and plug still reachable.
Balance brightness before adding ornaments
Turn off the room lights and view the tree from the main seating area. Move individual loops while the branches are still clear. Add ornaments only after the lighting looks balanced; heavy ornaments can hide LEDs or pull on the wire.
Using modes, dimming, and the timer
A steady or slow-glow mode can suit a calm room, while twinkle or sequence modes create more movement. Start at a moderate brightness and adjust after the room is dark. Test one complete timer cycle before relying on it.
Troubleshooting uneven coverage
- Dark band: move one loop into the gap instead of stretching the whole strand.
- Bright patch: separate overlapping cluster branches.
- Excess at the top: redistribute the middle loops; do not make a tight bundle.
- Controller out of reach: reposition the starting point before decorating further.
Removal and storage
Disconnect power, remove ornaments, and unwind from top to bottom. Do not pull the strand through dense branches. Coil it loosely and store it dry in a labeled container.
Frequently asked questions
Should cluster lights sit only on the outside of the tree?
No. Mixing inner and outer placement creates depth and helps avoid a flat wall of light.
Can I add another strand?
Only follow the connection instructions and limits for the exact selected product. Similar-looking connectors do not guarantee compatibility.
Compare cluster lights with battery mini and C9 styles in the outdoor Christmas lights guide.