
Battery vs Plug-In Christmas String Lights: How to Plan a Setup
SEO Team ·
Map the decorating route before choosing power
Begin by measuring the actual path: a tree branch, garland, porch rail, or roofline. Include the distance from the first light to the place where the control box or plug will sit, and leave modest slack at turns. Do not estimate from the visual length of a product photo. Compare the measured run with the exact length and LED count shown for each listing.
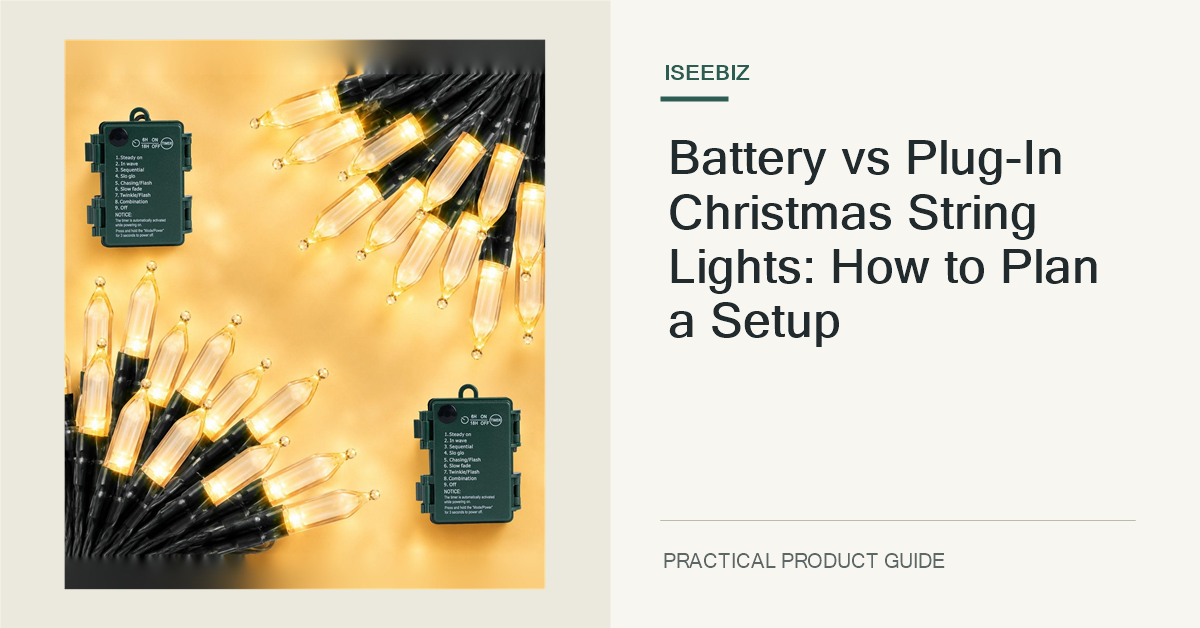
Battery-operated lights can be useful where an outlet is not convenient, while plug-in strings need a safe route to a compatible outlet. The ISEEBIZ 18 foot, 50 LED battery mini string is battery operated; the 25 foot, 500 LED cluster set and 81 foot C9 string are plug-in options. Check the current variant and package details before planning around those specifications.
Check the location and power route
For a battery string, decide where its battery compartment can sit so it remains accessible and protected as directed. For a plug-in string, locate the nearest suitable outlet and plan a route that does not cross a doorway, walkway, wet area, or sharp edge. Do not use extension cords or adapters in a way that conflicts with their labels or local electrical rules.
Outdoor-rated wording on a product page does not mean every connection can be submerged or left in standing water. Check the instructions for the exact string, power supply, and connection point. Keep plugs and controls in the approved orientation and away from pooling water. If the product is labeled for indoor use only, keep the whole setup indoors.
Match light pattern and scale to the feature
The 18 foot mini string has 50 LEDs, the 25 foot cluster option has 500 LEDs, and the C9 product is a longer plug-in style. Those formats create different visual density and bulb scale. Compare product photos and specifications with the size of the branch or railing so a dense cluster does not overwhelm a narrow feature and a widely spaced line does not leave large gaps.
A useful planning method is to sketch the route and mark where each section will begin and end. Consider how the lights look from the main viewing angle and whether a control, timer, or battery box will be visible. Confirm which modes and accessories are included with the selected variant; features can vary by length, color, or pack count.
Test the controls at ground level
Before hanging the lights, test the complete set at a safe, dry location. Confirm that the chosen mode, timer, remote, or battery compartment works as described for that model. Replace or charge batteries only as the instructions specify, and do not use a set with damaged insulation, cracked housings, or loose connections.
Testing first also makes it easier to find the beginning and end of the string. Keep the wire untangled and avoid pulling it tight around branches or corners. Use clips intended for the surface and lights; do not staple through wire or use nails that can pierce insulation. Stop if the cable becomes warm, smells unusual, or behaves inconsistently.
Choose a setup you can maintain safely
Before installation, check how the lights will be switched off, removed, and stored. A battery-powered decoration may be easier to place away from a socket, while a plug-in string can suit a longer, fixed route when the outlet and cable path are appropriate. Neither option removes the need to inspect the product and protect the connections.
After the season or event, disconnect power as directed, remove the lights without tugging the wire, and store them dry and untangled. Keep the original instructions with the set. The best choice is the one whose length, light style, power source, and maintenance needs fit the real location—not simply the one with the largest number of modes.